The Art of Pressing Flowers
Pressed flowers have been a part of art and decor for centuries. The beauty of preserving nature’s delicate blossoms and using them in various creative crafts is timeless. Whether you’re a seasoned artist or a beginner, pressing flowers can be an enjoyable and rewarding hobby.
What Are Pressed Flowers?
Pressed flowers are exactly what they sound like: flowers that have been flattened and dried by applying pressure to them. The purpose of pressing is to preserve the flower’s colors, shape, and texture for later use in various creative projects. This technique is especially popular in scrapbooking, card-making, jewellery making, and other crafts that celebrate nature’s beauty.
The process of pressing flowers essentially removes the moisture from the petals while maintaining their original appearance. With the right method, you can preserve flowers for months or even years.
Step-by-step guide to Pressed Flowers
 Edit Image
Materials You'll Need
To get started with pressing flowers, you’ll need the following materials:
-
Fresh Flowers: Choose flowers that are freshly picked, ideally in the morning when their moisture content is still low. Avoid wilting flowers, as they will not press well.
-
Absorbent Paper: You can use blotting paper, parchment/baking paper, or plain printer paper to absorb moisture from the flowers.
-
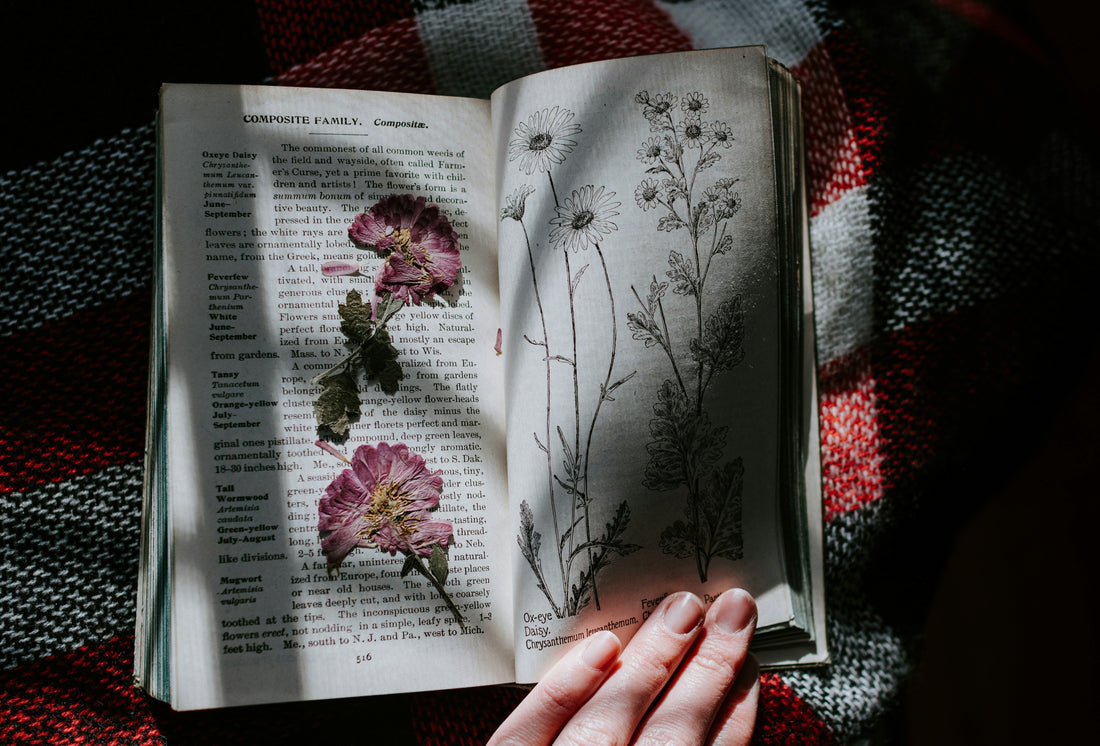
Heavy Books: A thick book (like a dictionary or an atlas) is the most common way to press flowers. Alternatively, you can use a flower press, which is a wooden frame with screws that allows for more controlled pressure. I use one of my thick hardcover recipe books with another stack on top for added weight. BUT DON'T FORGET ABOUT THE FLOWERS! I've found pressed flowers in one of my books that I'd forgot about. Needless to say they were pressed and really well dried!
-
Scissors or Pruning Shears: To trim the stems before pressing.
-
Tweezers: Helpful for positioning delicate petals.
-
Optional – Silica Gel: If you want to speed up the drying process, silica gel is a good alternative for preserving the flower’s color.
The Pressing Process
 Edit Image
-
Choose Your Flowers: Select fresh, non-wilting flowers. Aim for those with flat petals or simple blooms as they tend to press better.
-
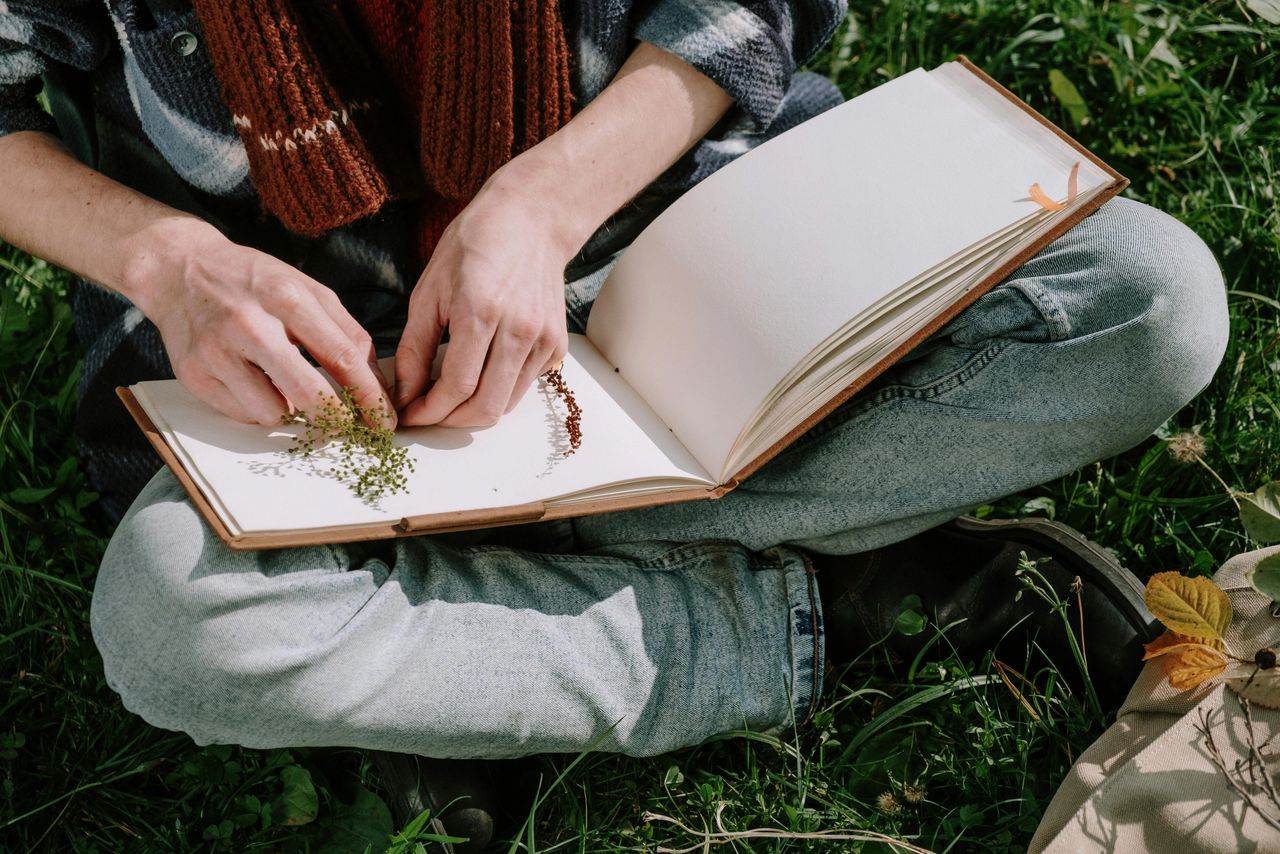
Prepare the Flowers: Trim the stems so they are just below the blooms. If you’re pressing leaves or stems, you can trim them to a desired size.
-
Place the Flowers Between Paper: Lay the flower on a piece of absorbent paper. Cover the flower with another piece of paper. You can place multiple flowers on the same sheet, but make sure they don’t touch each other.
-
Press the Flowers: Close the book on the flowers or insert the flowers into a flower press. If using a heavy book, make sure to add more weight on top to ensure even pressure. You can also place additional books on top for added pressure.
-
Leave the Flowers to Dry: Place the book in a dry, warm location out of direct sunlight. Flowers need to be pressed for at least 1 to 2 weeks to ensure they are fully dried. If you're using a flower press, you can expect the flowers to dry in about 2 weeks as well.
-
Check Your Flowers: After the drying period, carefully remove the flowers. If they feel dry to the touch and retain their colour, they are ready to use.
Drying Time
The drying time can vary depending on the flower type and the method used, but here’s a general guideline:
-
Traditional Book Pressing: 1-2 weeks.
-
Flower Press: 1-2 weeks.
-
Microwave Pressing with Silica Gel: 1-2 days.
For best results, avoid pressing flowers in extremely humid environments, as this can cause them to mould.
A Few Challenges in Pressing Flowers
 Edit Image
Pressing flowers isn’t always a straightforward process. While it’s relatively easy to press flowers, there are some common challenges that crafters encounter:
1. Moisture Content
Flowers with high moisture content can be tricky to press. If not dried properly, the flowers may develop mould or rot. It’s crucial to pick flowers early in the day when they have the least moisture.
2. Color Fading
Some flowers may lose their colour during the pressing process, especially if exposed to too much heat or sunlight. To prevent fading, avoid pressing flowers in direct sunlight and consider using a flower press that offers a controlled environment.
3. Delicate Flowers
Delicate flowers like lilies, orchids, and daisies may tear or lose their shape during pressing. These types of flowers require extra care and, often, a gentler pressing method like using a flower press.
4. Uneven Pressing
If the pressure isn’t evenly distributed across the flowers, they may end up with wrinkles or uneven shapes. To avoid this, make sure to use a heavy book or a specialised flower press, which will apply even pressure.
Best Flowers to Press
 Edit Image
Not all flowers are suitable for pressing. Some hold their shape better, while others may not hold up well during the pressing process. Here are some of the best flowers to press:
Pansies
Flat, colourful blooms that press well and retain their shape.
Daisies
Simple and easy to press with a classic, delicate look.
Violets
Small and flat, perfect for creating intricate designs.
Sunflowers
Large and bright, sunflowers are a great choice for more dramatic pressed floral projects.
Lavender
Small, fragrant flowers that press beautifully, retaining both colour and shape.
Buttercups
Soft petals that dry quickly and retain a lovely yellow colour.
Forget-Me-Nots
Small, delicate flowers that press well, especially in clusters.
Chrysanthemums
Vibrant, symmetrical flowers that press and hold their shape well.
Peonies
Large, fluffy flowers that may need extra care but make stunning pressed floral art.
Clover
Tiny, detailed flowers that press into an intricate and beautiful pattern.
Crafts to Make with Pressed Flowers
Once you've pressed your flowers, the possibilities for what you can create are endless. Here are some ideas to get your creative juices flowing:
Pressed Flower Cards
 Edit Image
Pressed flowers make gorgeous, personalised greeting cards. Whether for a birthday, wedding, or thank-you note, a card with pressed flowers adds a special touch. Here’s how you can make them:
-
Cut card stock to the desired size.
-
Arrange the pressed flowers on the card in an aesthetically pleasing pattern.
-
Glue the flowers down carefully, pressing them flat.
Pressed Flower Jewellery
 Edit Image
Pressed flowers can also be transformed into beautiful, one-of-a-kind jewellery pieces. Earrings, necklaces, bracelets, and brooches can all feature pressed flowers encased in resin, which preserves their beauty for years. Here’s a quick guide:
-
Arrange your pressed flowers inside resin jewellery moulds.
-
Pour resin over the flowers and allow it to cure. TIP: Make sure it has no bubbles. They can be pricked out with a toothpick.
-
Once cured, you can attach rings and chains to turn them into necklaces, or use ear hooks for earrings.
Pressed Flower Wall Art
Create stunning wall art by arranging the pressed flowers into framed patterns. You can use shadow boxes, canvas, or regular picture frames to display your floral creations. For example, a botanical print can be both a modern and vintage-style home décor piece.
Pressed Flower Bookmarks
Pressed flowers make for elegant bookmarks that bring a bit of nature into your reading experience. To make one, simply:
-
Glue pressed flowers to a strip of cardstock or a thin piece of craft wood.
-
Laminate the bookmark to ensure durability.
-
Add a tassel or ribbon for extra flair.
Final Tips for Perfect Pressing
-
Use fresh flowers: The fresher, the better! Pick them early in the day when moisture content is lower.
-
Avoid overcrowding: When pressing, ensure that flowers are spaced out to allow even drying.
-
Be patient: Pressing flowers takes time. Don’t rush the drying process to avoid mould or colour loss.
-
Store carefully: Keep pressed flowers in a dry, cool place until you're ready to use them to avoid damage.
Pressed flowers offer a beautiful way to bring nature indoors and hold memories. With a little patience and practice, you can press stunning flowers and turn them into meaningful, artistic craft pieces that will last for years.
Until next time....
With love and passion, happy pressing!

